
Last updated September 19, 2026
Full 25-point door and opener safety check with every visit - springs, cables, rollers, tracks, and your LiftMaster or Chamberlain opener included
You get a price before we start. It does not change when the truck arrives.
Chamberlain openers
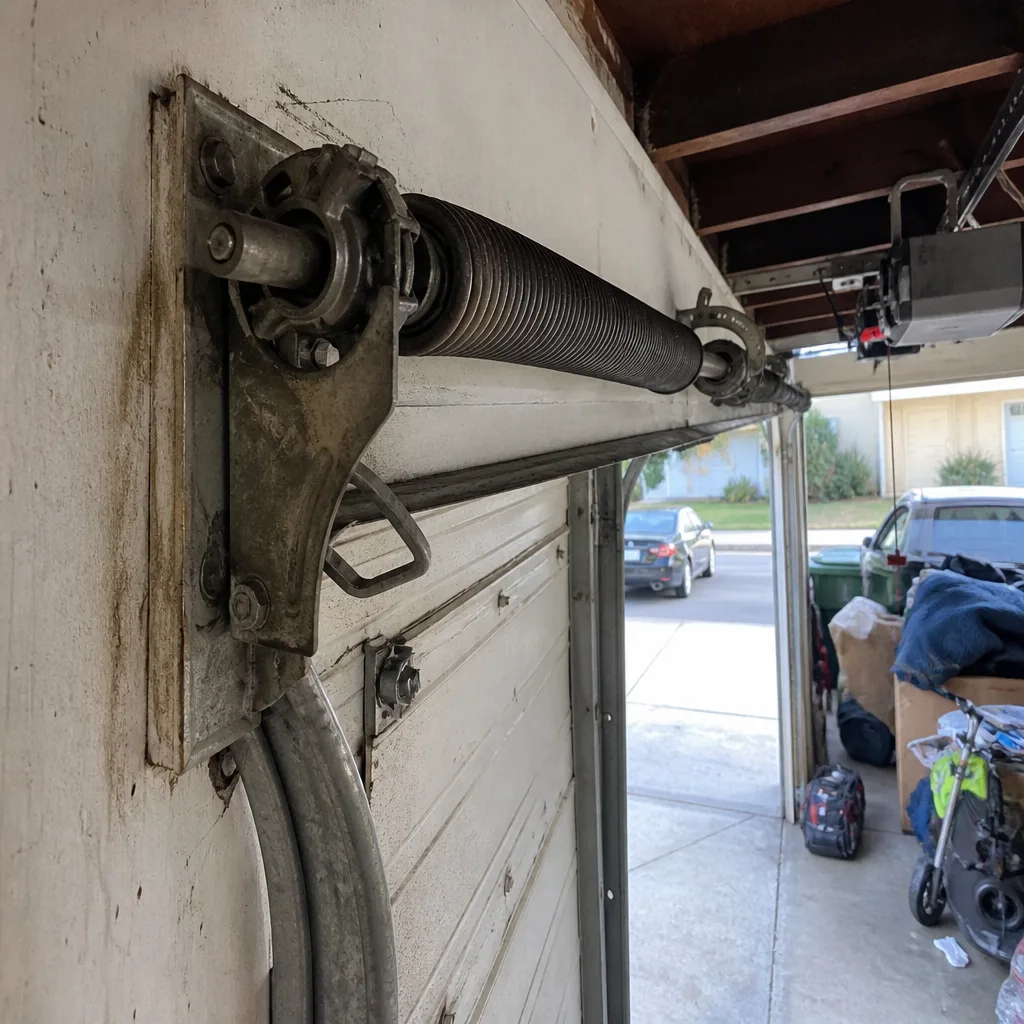 Before
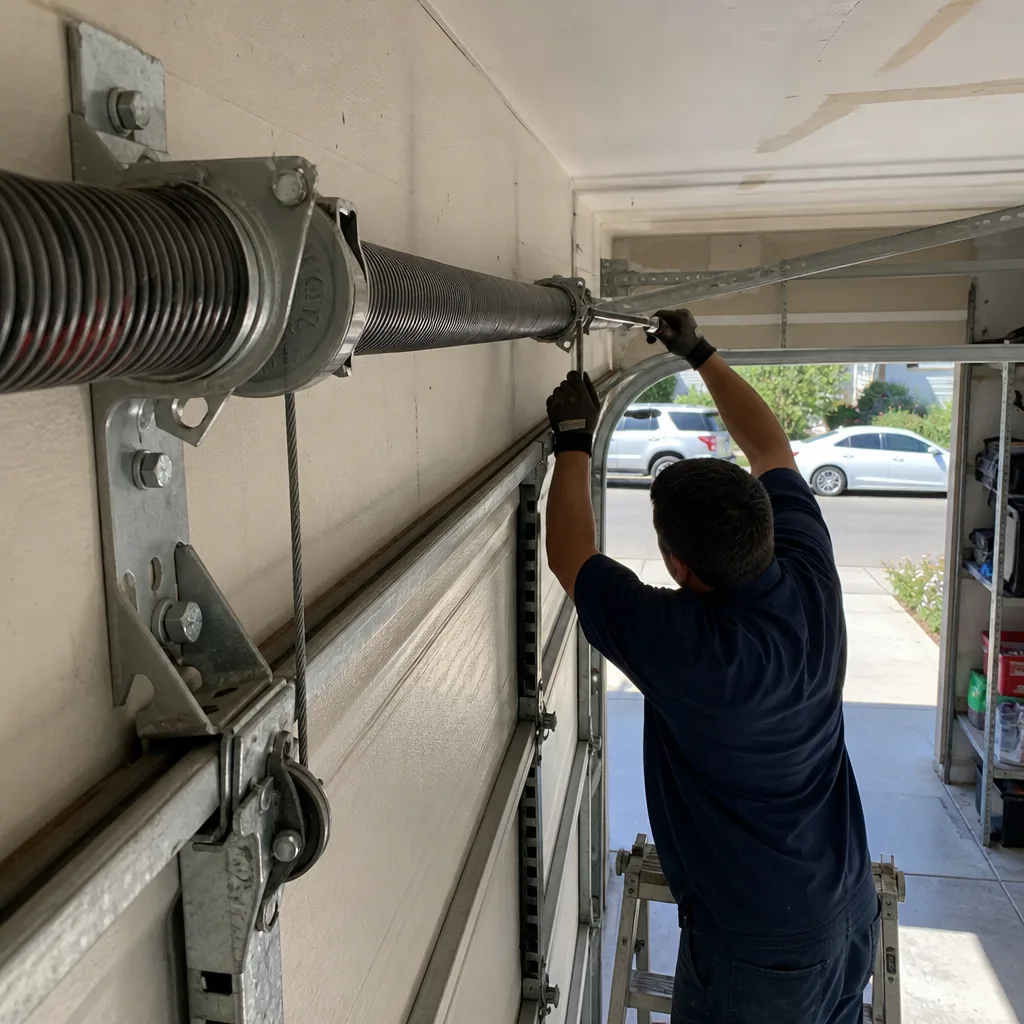 After
After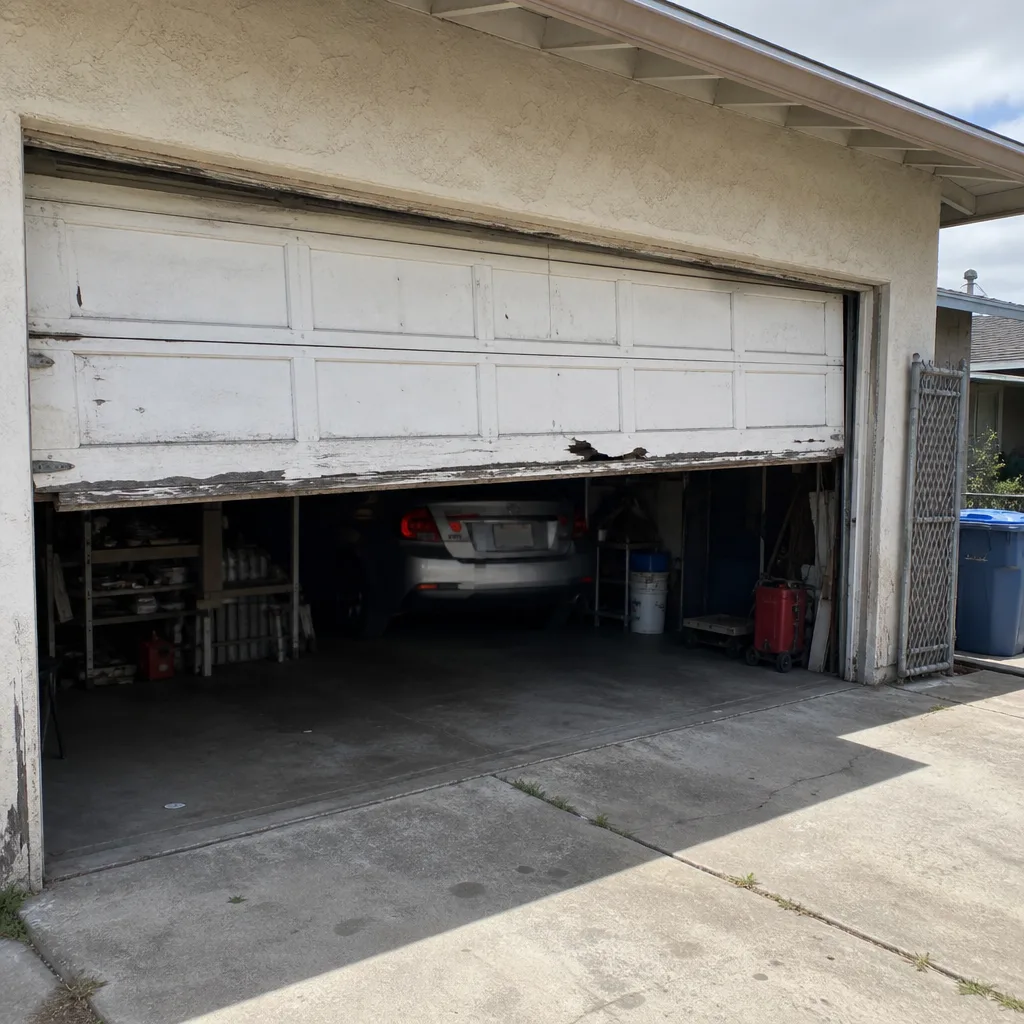 Before
 After
After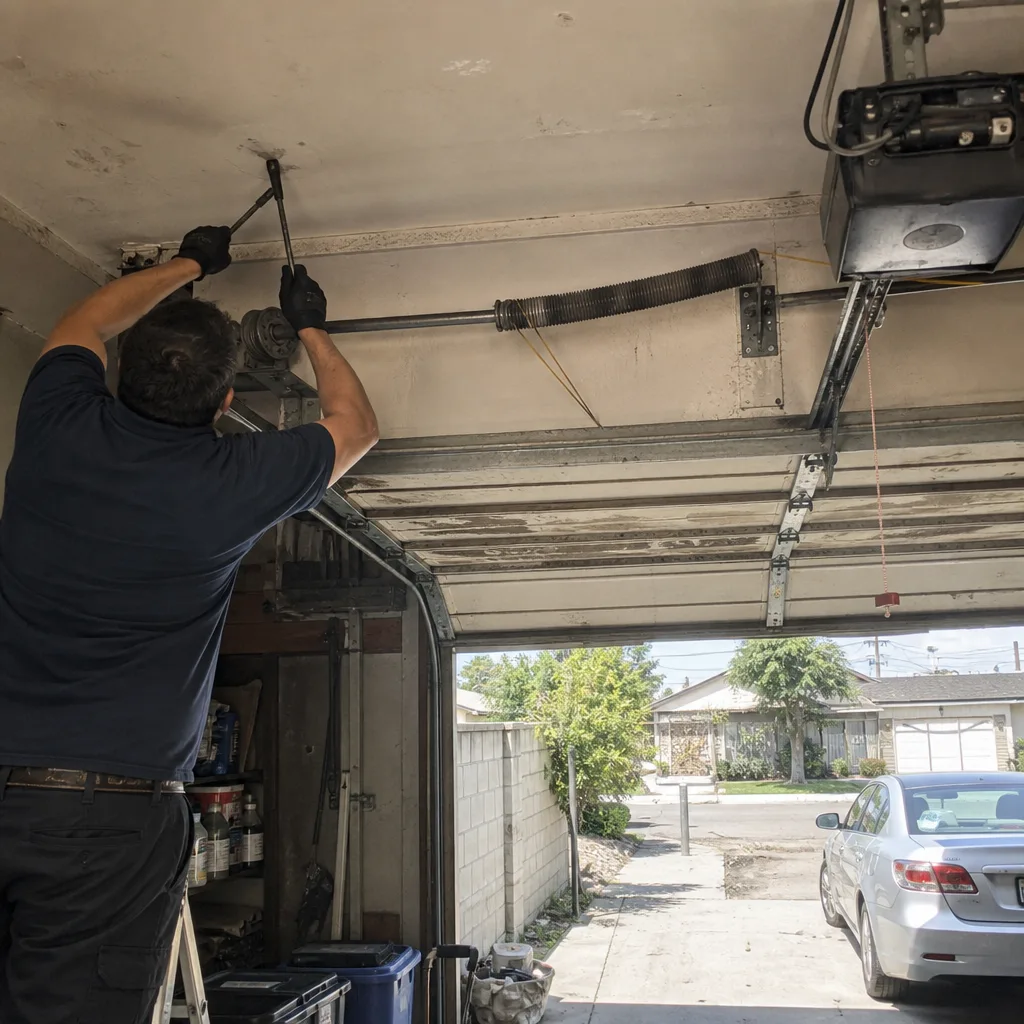 Before
 After
AfterDIY vs Professional Garage Door: The Long Beach Homeowner’s Decision Guide
Torsion springs store between 100 and 300 foot-pounds of torque. That is not a liability disclaimer. It is a physics constraint that makes spring replacement a categorically different task than swapping rollers or a bottom seal, regardless of your mechanical aptitude or the runtime of the YouTube tutorial you watched. This guide sorts garage door work into three honest buckets: what a Long Beach homeowner can safely handle with basic tools, what carries documented risk, and what belongs with a professional on grounds of stored energy, not marketing convenience. You will also learn the three tests that confirm any repair held correctly, and why keeping a maintenance log changes the conversation the next time a technician arrives at your door.
Quick Answer
Most garage door maintenance in Long Beach, including lubrication, sensor cleaning, bottom seal replacement, and track alignment checks, is safe and sensible DIY work that extends service intervals, as covered in our Garage Door Repair Maintenance Checklist for Long Beach Homeowners. Torsion spring replacement, cable work, and opener logic board diagnosis are not DIY tasks because the components store dangerous levels of energy or require specialized diagnostic tools that cost more than the service call itself. For high-risk components, a professional repair in Long Beach typically runs $180 to $450 including parts, while a failed DIY spring repair can cost ten times that in medical bills or property damage before the door is even fixed.
Table of Contents
- The Physics That Separates Safe DIY From Dangerous DIY
- Task Classification: What You Can Do, What You Shouldn’t
- Safe DIY: Four Tasks That Extend the Life of Your Door
- DIY-Possible With Documented Risk: What Long Beach Homeowners Try
- Professional-Only: Where Physics Decides, Not Preference
- The True Cost of a Failed DIY Attempt
- Three Tests to Verify Any Repair Before You Trust the Door
- Documentation: What to Keep When You Do the Work Yourself
BeforeAfterThe Physics That Separates Safe DIY From Dangerous DIY
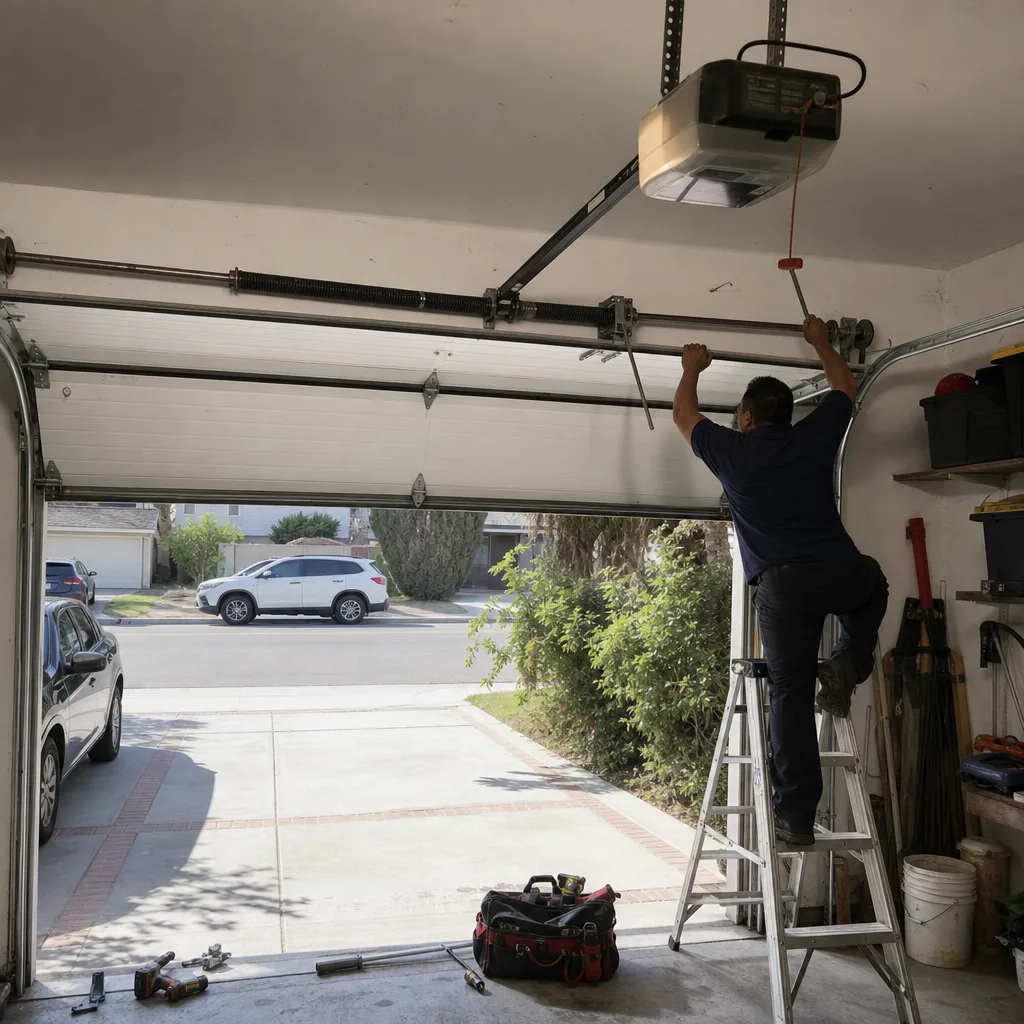
Garage doors are deceptively simple machines. A typical 16-by-7-foot residential door weighs between 150 and 250 pounds depending on material. A steel door with insulation sits heavier than a hollow aluminum one, and many Long Beach homes built in the 1980s and 1990s have single-panel doors that weigh at the top of that range. The door’s apparent lightness during operation comes entirely from the counterbalance system, which in modern installations means a torsion spring assembly mounted on a metal shaft above the door opening.
That spring does the heavy lifting. When you open the door, you are not lifting 200 pounds. You are guiding a door whose effective weight has been reduced to roughly 8 to 12 pounds by the spring’s stored torque. The spring winds and unwinds with every cycle, and a typical spring is rated for 10,000 cycles, which translates to roughly 7 to 10 years of normal use in Long Beach, where most doors open and close three to four times daily.
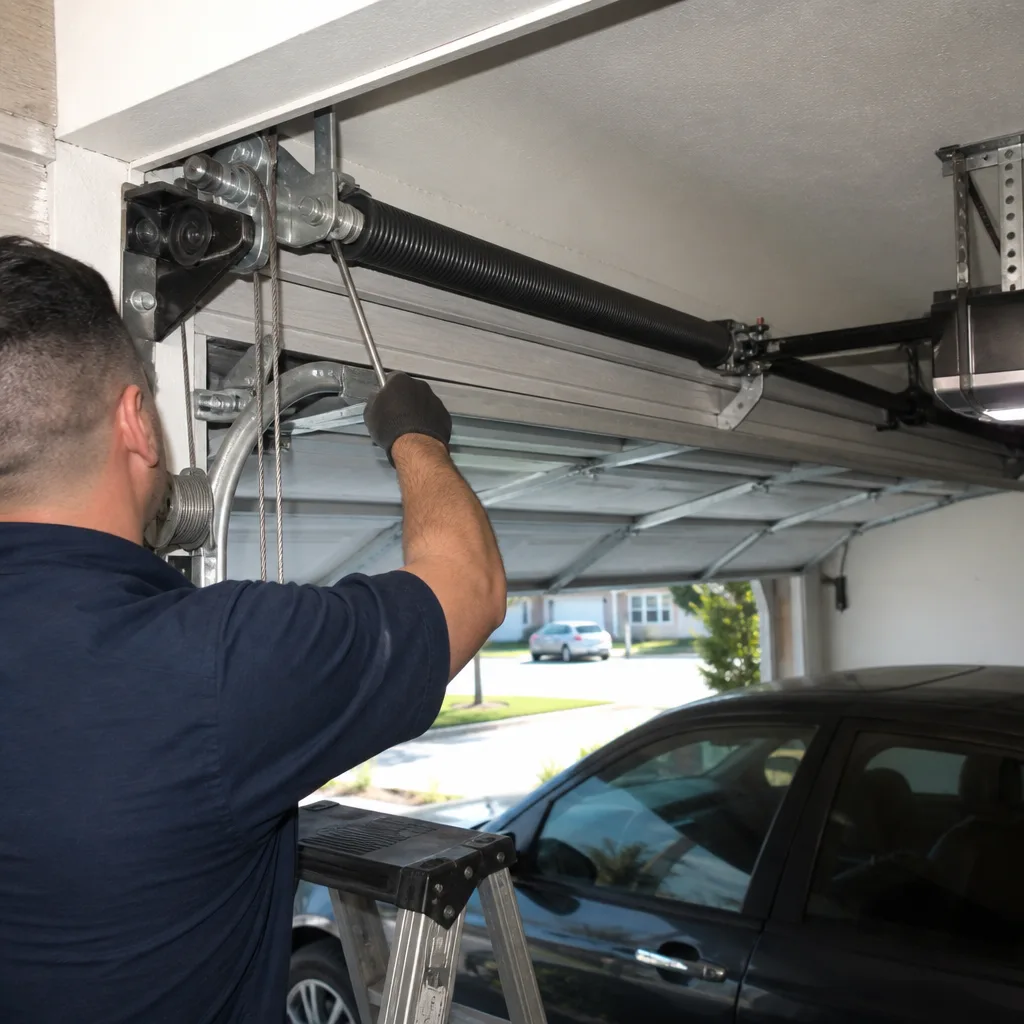
Here is the number that matters: a wound torsion spring holds enough energy to send an iron winding bar through drywall, bone, or a skull if it slips. Professional technicians use hardened steel winding bars designed for the exact diameter of the spring cone. Hardware-store substitutes, including screwdrivers, pry bars, and rebar, shear under load and become projectiles. This is not a debate about competence. It is a constraint imposed by the component.
Extension springs, still common on older Long Beach doors, carry a different but equal danger. When one snaps without a safety cable threaded through it, the spring becomes a two-pound steel missile traveling at high velocity. The safety cables that keep extension springs tethered when they break are a retrofit item most homeowners do not know their door lacks until the spring fails.
Our technicians at Garage Door Repair in Long Beach photograph the spring’s wire diameter and break pattern before quoting any replacement, because the documentation is what lets a homeowner see exactly what they are paying for. That same photo record shows why the work is classified as professional-only: a torsion spring photographed after an amateur winding attempt often shows cone damage, stripped set screws, or a door that has jumped its cables. The evidence tells the story.
Task Classification: What You Can Do, What You Shouldn’t
The DIY-versus-professional question collapses into a simple table. The dividing line is not skill. It is stored energy and consequence of failure. A bottom seal that fails means a wet garage floor. A torsion spring that fails under amateur winding means an uncontrolled release of up to 300 foot-pounds of kinetic energy in the immediate vicinity of your hands and face.
Safe DIY territory:
- Lubrication of rollers, hinges, bearing plates, and the spring coil itself using a lithium-based or silicone spray. This is a 15-minute task that should be done every 6 months in Long Beach, where salt air from the harbor accelerates corrosion on moving parts.
- Photo-eye sensor cleaning and alignment. The sensors at the bottom of each track collect dust, spider webs, and salt film. A dry microfiber cloth and a level fix 90% of intermittent reversal issues.
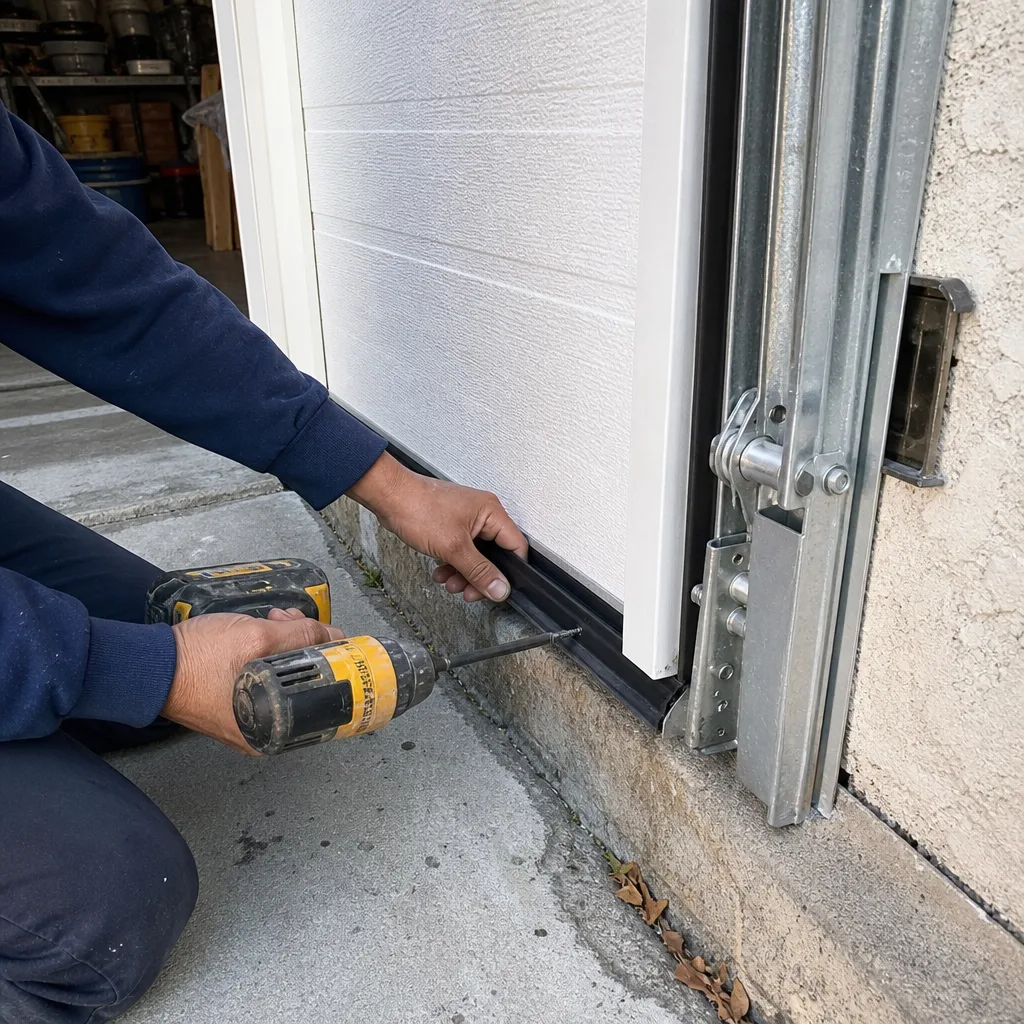
- Bottom seal replacement on a sectional door. The vinyl or rubber strip slides out of its aluminum retainer and a new length slides in. No spring interaction required.
- Visual inspection and balance testing. Disconnecting the opener and lifting the door manually tells you more about spring health than any noisy-opinion blog post.
DIY-possible with documented risk:
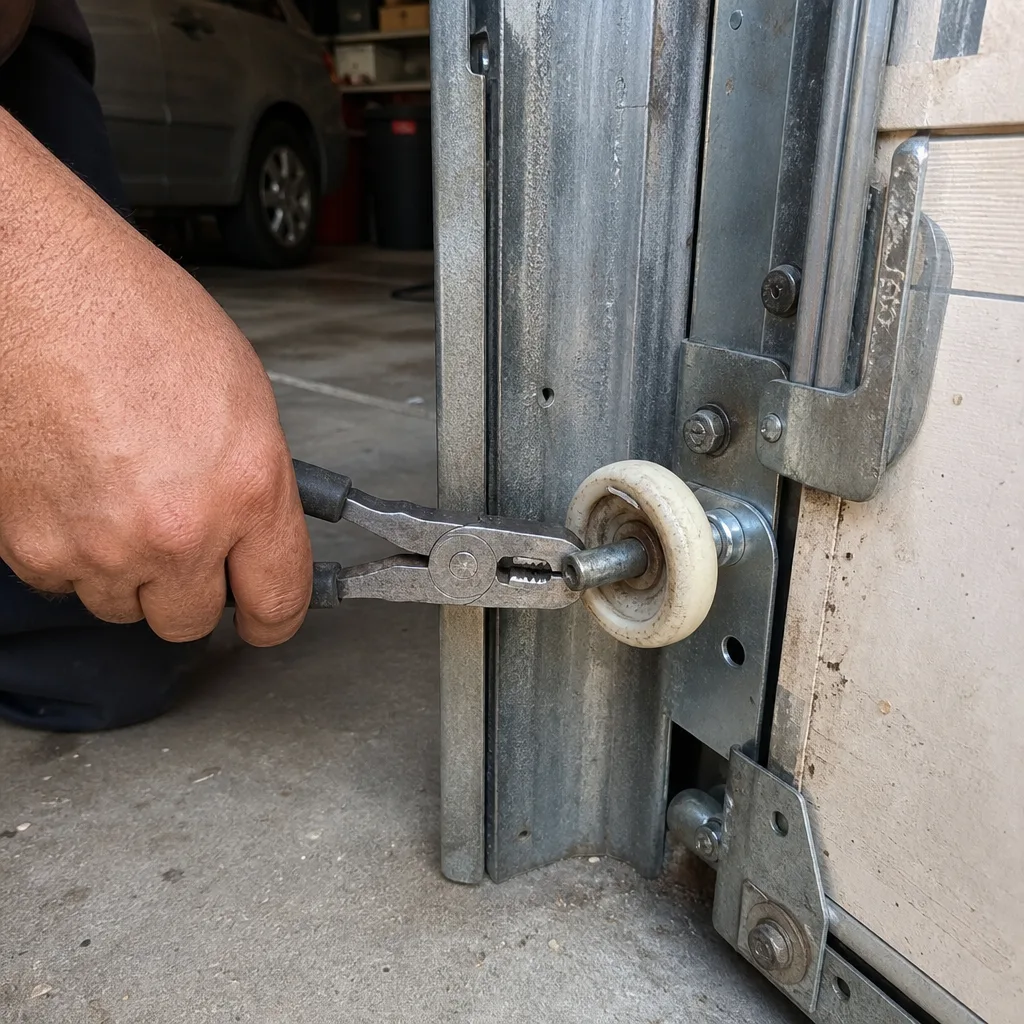
- Roller replacement on the sides of the door. Lower rollers are accessible. Bottom rollers are under cable tension and require the cable to be disconnected, which is where amateurs get hurt. Top and bottom brackets that carry cables under spring tension should remain untouched.
- Hinge replacement on upper sections that do not carry cable tension.
- Battery replacement in remote controls and keypads.
Professional-only, on physics grounds:
- Torsion spring replacement, winding, or adjustment.
- Extension spring replacement, especially on doors without safety cables.
- Cable replacement or re-spooling. The cable carries the full loaded weight of the door when the spring transfers energy.
- Track replacement or major track realignment that requires the door to be partially disassembled.
- Opener logic board, limit switch, and travel module diagnosis. These require a multimeter, wiring diagrams, and an understanding of how the control board communicates with the safety sensors, the travel limits, and the force settings.
Why the Classification Matters in Long Beach Specifically
Long Beach sits on the Pacific, and the marine layer does not discriminate between a Belmont Shore Craftsman and a Bixby Knolls split-level. Salt air corrodes springs faster than inland locations, and the humidity accelerates wear on cables where they pass over pulleys. A spring that would last 10 years in Riverside may fail in 7 years in Naples or Alamitos Beach. That accelerated wear means Long Beach homeowners encounter the decision point sooner, more often, and with less warning.
City code also matters. Long Beach Building Standards Code requires garage door installations to comply with the California Building Code, which mandates auto-reverse safety features and specific sensor placement heights, as detailed in our guide to Garage Door Permits, Codes & Inspections in CA: What You Need to Know. A homeowner who modifies their opener’s force settings to compensate for a dying spring creates a door that no longer complies with that code and becomes a documented liability risk if someone is injured.
Safe DIY: Four Tasks That Extend the Life of Your Door
This is the part of the conversation most contractor sites skip, because every minute you spend maintaining your own door feels like a minute they are not billing. We take the opposite position. A Long Beach homeowner who lubricates their door every six months, cleans their sensors when the opener acts up, replaces a cracked bottom seal before rain finds the gap, and catches a losing spring during a balance test is a homeowner whose door fails less catastrophically and less expensively. Here is how to do each of those tasks correctly.
1. Lubrication: The 15-Minute Task That Buys Years
The goal is not to make the door quiet. The goal is to reduce friction so the springs work at their designed load and the opener motor does not strain. Use a white lithium grease or a silicone spray. In Long Beach, avoid WD-40. It is a solvent that strips existing lubricant and attracts salt-laden moisture from the marine layer, which accelerates corrosion on Genie and LiftMaster hardware alike.
Apply lubricant to:
- Each roller’s ball bearings, if the roller has visible bearings. Nylon rollers with sealed bearings do not need lubrication. Metal rollers do.
- The hinge pins where each section pivots.
- The torsion spring coil itself, along its entire length, twice per year. A dry spring develops surface rust that creates friction points during winding and unwinding, and those friction points become fracture origins.
- The bearing plates at each end of the torsion tube.
- The opener rail where the trolley carriage rides, using a light silicone spray.
Do not lubricate the tracks. Tracks should be clean and dry. Lubricant in the tracks attracts grime and causes the rollers to skate instead of roll.
2. Photo-Eye Sensor Cleaning and Alignment
The sensors sit on each side of the door opening, about 6 inches above the floor. When they are dirty or misaligned, the door refuses to close, or reverses mid-travel. The fix is usually simple:
- Wipe each sensor lens with a dry microfiber cloth. No solvents, no water.
- Check that each sensor body is square to the track. A slight knock from a trash bin or a child’s scooter knocks them out of alignment.
- Look at the indicator lights. Most sensors have a small LED. Both should be illuminated steady when aligned. A blinking light indicates a wiring fault, not an alignment issue.
- If one light is out, check the low-voltage wiring behind the sensor for corrosion. Long Beach’s salt air corrodes exposed low-voltage splices faster than inland environments.
If both sensors are clean, aligned, and illuminated, and the door still reverses or refuses to close, the problem is in the opener’s logic board, which is a professional diagnosis. Continuing to hold the wall button to override a reversing door is how children and pets get injured, and it disables the auto-reverse feature required by California Building Code.
3. Bottom Seal Replacement
The rubber or vinyl strip along the bottom of the door weatherproofs the garage. Long Beach sees only about 12 inches of rain annually, but when it rains in January, it can come in sheets, and a cracked seal lets water, leaves, and occasionally sand from beach-adjacent neighborhoods into the garage.
- Measure the door width, then buy a replacement seal of the correct profile. Two common profiles are the T-style that slides into a single channel, and the bulb-style that fits into two channels. Take a photo of the cross-section before buying.
- Raise the door to waist height and lock it in place by clamping locking pliers to the track just below a roller. Do not work under a door supported only by the opener.
- Pull the old seal out from one end. If it is stubborn, a flathead screwdriver helps start it.
- Slide the new seal in. A little dish soap on the leading edge eases the pass. Do not stretch it, or it will shrink back and leave gaps at the ends.
- Cut to length with a utility knife.
4. Balance Testing: The Early Warning System
This is the most valuable thing a Long Beach homeowner can learn, and it takes 60 seconds. A properly balanced door, disconnected from the opener, should stay put at any position between fully open and fully closed. If it wants to fall from a halfway position, the spring is losing tension or the door weight has changed. If it wants to rise, the spring is overwound or the door has lost mass.
- Close the door.
- Pull the red emergency release handle to disconnect the trolley from the opener carriage.
- Lift the door manually to waist height.
- Let go carefully, keeping your hands near the handle but not under the door.
- Watch what the door does. A slow drift down is acceptable. A fast fall is not. A strong rise means the spring is overwound.
- Reconnect the opener by running it once until the trolley re-engages, or by pulling the release handle again while lifting the door slightly.
If the door falls from waist height, the spring needs attention from a professional. Do not attempt to compensate by increasing the opener’s force setting. That masks the symptom and creates the exact code-violation and injury risk described above.
DIY-Possible With Documented Risk: What Long Beach Homeowners Try
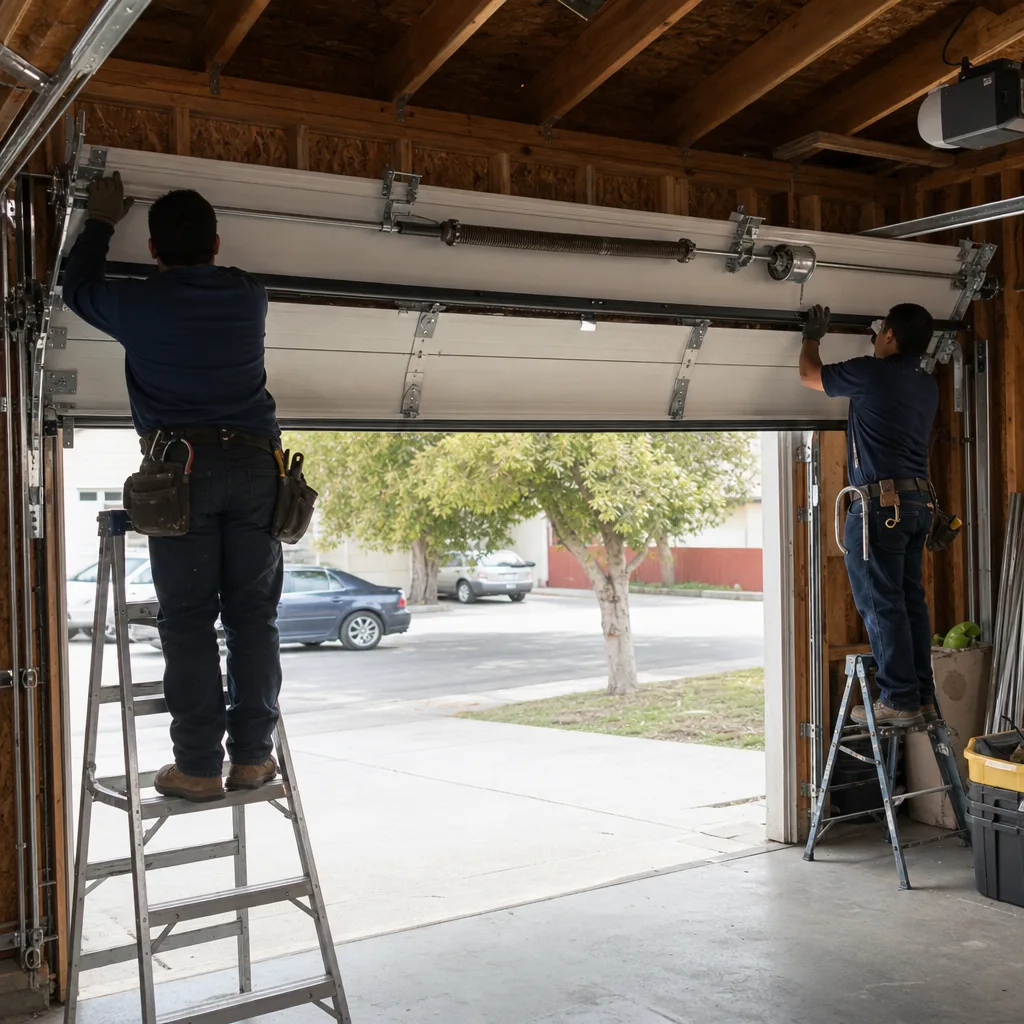
This middle category is where the honest conversation lives. A competent Long Beach homeowner with a torque wrench, a level, and patience can replace upper hinges and loose rollers without touching the spring system. Some also attempt bottom roller replacement or opener force adjustments. The question is not whether these tasks are possible. The question is whether the homeowner understands what a failure looks like and what it costs.
Roller Replacement: The Cable Tension Trap
Rollers wear over time. Steel rollers with ball bearings eventually grind, wobble, and flatten. Nylon rollers with sealed bearings wear more gracefully. Replacing an upper roller is straightforward: it sits in a hinge with no cable attached, so the roller comes out after loosening the hinge bolts and prying the hinge open enough to slide the roller free.
Bottom rollers are different. The bottom bracket holds both the roller and the lift cable. That cable carries the full effective weight of the door whenever the spring is not doing the work, and unwinding the bracket without securing the cable under tension is how doors come off their tracks and crush garage equipment, or worse. On a Clopay or Amarr door in Long Beach, that cable is under tension even when the door is open because the bottom rollers sit at the bottom of the vertical track where the cable runs the final few inches of its load path.
The failure mode here is not a wound spring. It is a door that comes free of its track and falls, or a cable that snaps and whips outward. We have rebuilt track sections in Signal Hill and Wrigley where a bottom roller replacement gone wrong pulled the vertical track from its wall anchors. The anchor points on older stucco garages in Long Beach are especially vulnerable because decades of marine air have rusted the lag screws.
Opener Force Adjustment: The False DIY Shortcut
Every modern opener made by LiftMaster, Chamberlain, Genie, and Craftsman has two adjustment screws or digital settings: open force and close force. The close-force setting determines how much resistance the opener will overcome before the auto-reverse triggers. When a spring loses tension, the door becomes heavier, and the opener starts reversing because its force threshold is exceeded.
The DIY response, repeated across forums and comment sections, is to turn the force setting up until the door closes again. This takes 30 seconds and costs nothing. It also disables the mechanism that prevents your 160-pound door from crushing a child, a pet, or a cooler that rolled under the sensor beam. The force setting is not a spring tension adjustment. It is a safety trigger. Crank it up and you are telling the opener to push harder before giving up.
When we see a door with a spring that measured 20% below spec and a force dial cranked to maximum, the documentation tells the story: the spring failed, the opener compensated, and the door became a hazard without ever displaying an obvious external symptom. That is the exact scenario our photo record captures, and it is the scenario a homeowner should not create intentionally.
What the Middle Category Demands From You
If you choose to work in this middle zone, count the cost before you touch a tool. The roller replacement that goes wrong often breaks a hinge, bends a track, or detaches a cable. The hinge or cable repair that follows is not a middle-category task. That is professional territory, and the professional who arrives is now repairing both the original wear and the damage from the attempt. A $12 roller replacement can become a $400 track rebuild. The math does not favor the gamble, even when the skill is there, because the consequence curve is steep and the parts are not expensive enough to justify the risk of the failure mode.
Professional-Only: Where Physics Decides, Not Preference
Some tasks are not difficult. Some are dangerous. The distinction matters because the internet has created a strange phenomenon where “hard” and “safe” are treated as interchangeable. Torsion spring replacement is neither hard nor safe. It is straightforward work done under conditions where a single mistake releases enough energy to kill or maim, and the parts run about $60 to $150 for a pair. The danger is not in the complexity. It is in the stored energy.
The Torsion Spring: What We Photograph Before We Quote
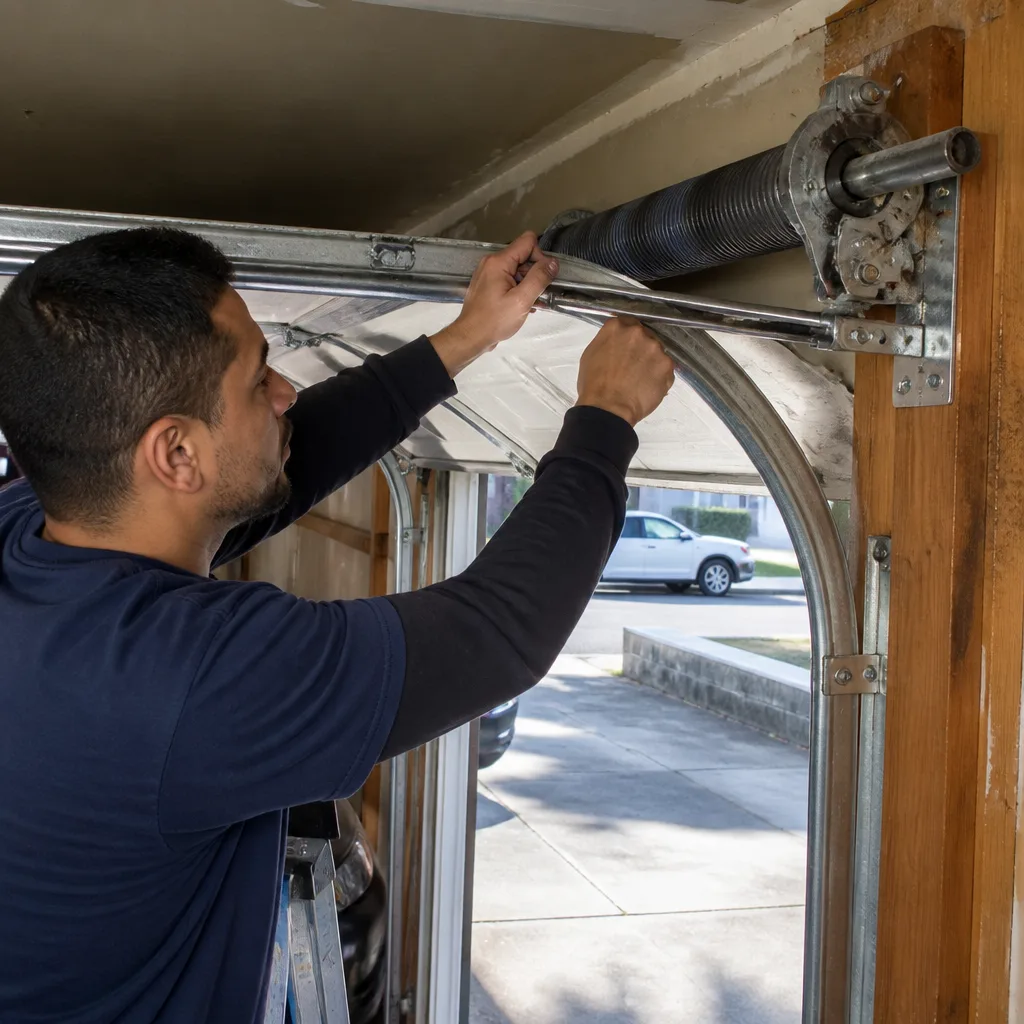
A torsion spring sits on a metal shaft above the door. It is wound by turning a cone at one or both ends, and that winding stores the energy that counterbalances the door. The spring is rated by several measurements: wire diameter, inside diameter, length, and wind direction. A spring for a 16-by-7 door in Long Beach typically measures 0.225 to 0.250 inches in wire diameter, and that number determines the spring’s torque rating.
When a spring breaks, it is usually a clean snap at a coil, often accompanied by the sound of a gunshot inside the garage. The break detection happens visually: the spring separates at the break point. From there the technician unwinds the remaining tension, removes the broken spring, measures the old spring’s dimensions and the door’s actual weight, and installs a pair of new springs wound to balance the door properly.
Clause 4 of The Haven Standard is why the technician photographs the failed part before quoting a replacement. In practice, that means a Long Beach homeowner receives a photo of the broken spring showing the coil separation, a measurement of the wire diameter, and a written scope and price before any new part goes on the shaft. You see the evidence of the failure and the dollar amount that fixes it, both on paper, before you approve the work.
Cables: The Component People Forget Until It Fails
Lift cables run from the bottom brackets up along the door and wrap around a drum at each end of the torsion tube. When the spring is unwound or broken, the cables are slack. When the spring is wound, the cables carry load. In either state, they are unforgiving under tension.
Cable failure often follows spring failure on Long Beach doors because the two components wear on different timelines. Springs fatigue from cycles. Cables rust from the marine air and fray where they pass over the drum edges and through the bottom bracket. A frayed cable that parts under load allows the door to drop on the side where the cable failed, twisting the entire door assembly in its tracks. The repair involves unwinding the spring system, re-spooling the cables, and balancing the door.
This is not a task that rewards a careful amateur. It is a task that punishes any mistake instantly. The same applies to extension spring replacement on older doors in neighborhoods like Los Altos or El Dorado Park, where original single-panel doors may still use extension springs without safety cables. If the spring breaks and the cable is not there, the spring becomes a projectile aimed at whatever is in its path inside the garage.
Opener Diagnosis: The Other Kind of Complexity
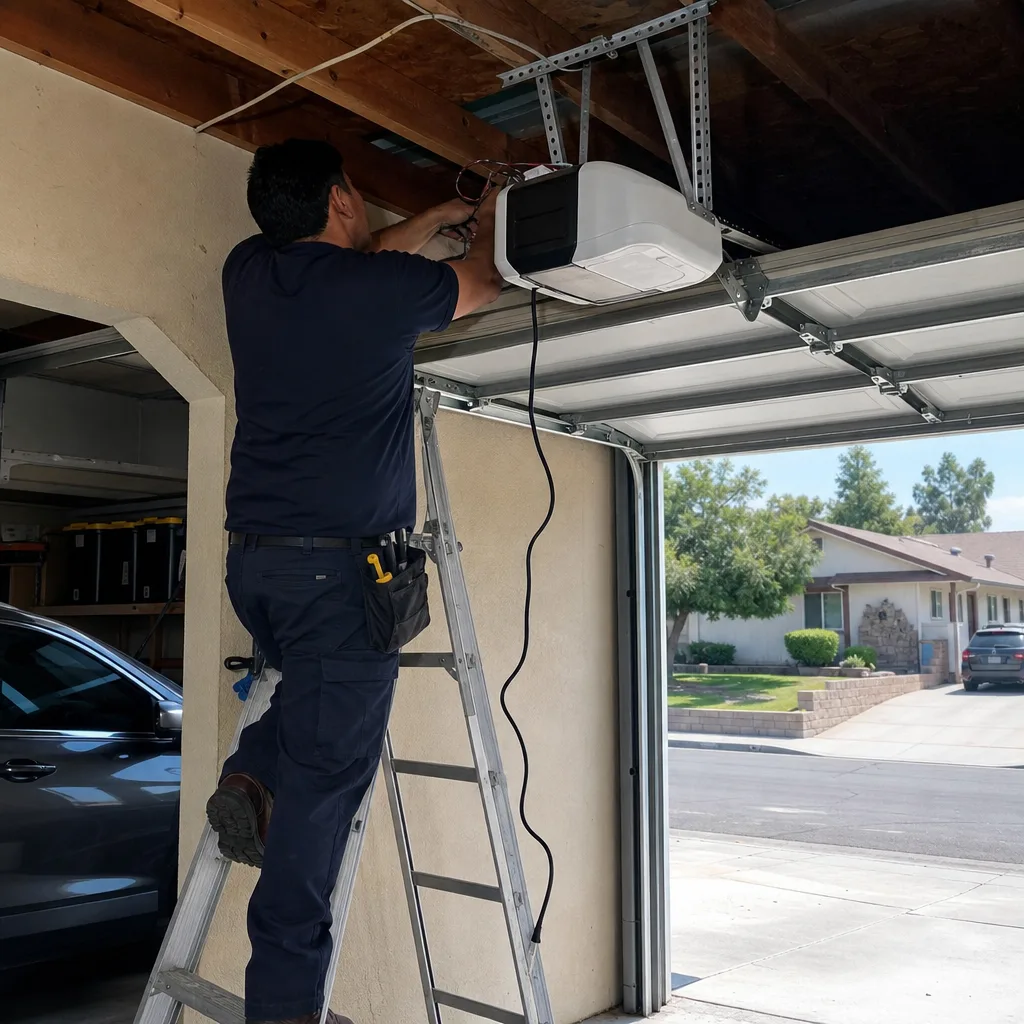
Modern garage door openers from LiftMaster and Chamberlain are small computers with limit switches, force sensors, safety sensor inputs, and a logic board that ties everything together. When a door opens two inches and reverses, or refuses to respond to the remote but works from the wall button, or travels only halfway and reverses, the problem could be in any of a dozen components.
Diagnosing these issues requires a multimeter to check low-voltage continuity to the sensors, an understanding of how limit switches communicate with the logic board, and enough familiarity with specific models to know that a Wayne Dalton opener from 2012 shares a logic board with one of the Chamberlain models but not the other. A homeowner with a multimeter and a wiring diagram can diagnose some of this. Most cannot, and the cost of wrong diagnoses is usually a new logic board installed in frustration when the real problem was a corroded sensor wire. A professional diagnosis through our Garage Door Opener Repair & Installation in Long Beach service starts with the documented symptoms, not the guess.
The True Cost of a Failed DIY Attempt
The comparison the internet sells you is simple: a $12 part versus a $200 service call. The comparison reality gives you is different. A torsion spring replacement in Long Beach runs $180 to $450 including parts and labor, depending on the spring’s wire diameter, the door’s size, and whether the technician is replacing one spring or a pair, as broken down in our Garage Door Cost Breakdown: The Long Beach Homeowner’s Reference for 2026. A pair is recommended because springs wear on the same cycle count, and a lone new spring on one side creates balance issues.
A failed DIY spring attempt costs far more. The failure modes are not subtle:
- Projectile winding bar. A screwdriver or pry bar used as a winding bar slips from the cone and launches. Hospital bills for facial lacerations or eye injuries run $3,000 to $20,000, and that is before the door is fixed.
- Door off its tracks. When an incorrectly wound spring lets the door lurch on the shaft, the door can pull a cable free, twist in the tracks, and bend a vertical track. A track rebuild on a Long Beach home runs $250 to $600.
- Cable snap. A cable that parts under amateur tensioning whips across the garage. The repair is professional work, adding $150 to $300 on top of the original project.
- Stripped set screws and cone damage. Using an undersized or wrong-profile bar strips the cone’s set-screw threads, which means the technician replacing the spring must replace the cone too, and sometimes the entire torsion tube. That adds $80 to $250.
- The 11 p.m. failure. Amateur spring work often “works” for a few days, then fails when the door cycles at the wrong moment, leaving the door half-open at night and the garage unprotected. The emergency call at 11 p.m. costs more than the same job at 2 p.m.
The real number to compare is not $12 versus $200. It is the full cost distribution of the DIY attempt, weighted by the probability of each failure mode. When we lay that out honestly, the professional repair is not the expensive option. It is the cheap option with a documented guarantee and a written warranty.
There is also the cost of the door left unprotected. A garage door that will not close in Long Beach leaves bicycles, tools, and a possible interior access door exposed. Long Beach property crime statistics are what they are, and a half-open garage on a street in Zaferia or Cambodia Town is an invitation that no homeowner wants to extend overnight.
Three Tests to Verify Any Repair Before You Trust the Door
Whoever does the work, whether it is you on a Saturday morning or a technician on a Tuesday afternoon, the result should pass the same three tests. These tests are the ground truth for garage door repair, and they apply to every door on every brand, from Raynor to Amarr.
Test 1: The Balance Test
Disconnect the opener and lift the door manually to waist height. Let go. The door should stay in place, or drift slowly, less than a foot over five seconds. A door that falls from waist height has a weak spring or a heavy door. A door that rises has an overwound spring or a light door. Both are failures. After any spring replacement, this test should be performed before the opener is reconnected. Our technicians perform it on every spring job, and the result is part of the documented record.
Test 2: The Reverse Test
With the opener connected, place a 2×4 or a roll of paper towels on the floor directly under the door’s path. Close the door. The door should contact the object and reverse within two seconds of making contact. If it does not, the force setting is too high or the auto-reverse mechanism is not functioning. This test verifies compliance with the California Building Code requirement for automatic reversal, and it is the test that keeps a garage door from becoming a liability.
Test 3: The Sight and Sound Test
Stand inside the garage and run the door through a full open-and-close cycle. Listen for grinding, popping, or rhythmic thumping. A well-serviced door on a Lubricated track is quiet, with a smooth hum from the opener. A popping sound at a specific point in the travel indicates a hinge binding or a roller that has flat-spotted. A rhythmic thump on a sectional door usually indicates a cable issue or a damaged section where the door passes a specific point in the track. Watch the cables on both sides. They should spool evenly onto the drums, with no gaps, overlaps, or slack. A cable that appears loose on one side while the other is taut means the door is not level.
Run these three tests after any repair, whether DIY or professional, and document the results. The documentation is the part most people skip, and it is the part that matters when the next problem appears.
Documentation: What to Keep When You Do the Work Yourself
Here is a counterintuitive truth from a service company: we want you to keep records of your own work. A homeowner with a maintenance log is a better customer, not a worse one. The log turns “the door started acting weird a while ago” into “the balance test failed on March 3rd and the door dropped 8 inches from waist height,” which changes a diagnosis from a search into a confirmation.
Keep a simple record. A note on your phone, a page in a notebook, or a printed sheet taped inside the garage cabinet works. The format matters less than the consistency. Each entry needs four things:
- The date. When did the work happen?
- The task. What did you do or observe? “Lubricated rollers and hinges with white lithium grease” is a complete entry.
- The result. What did you observe after the work? “Door ran quieter, no change in balance test.”
- Any parts. If you replaced a bottom seal, note the profile and brand. If you replaced a roller, note the size and material.
That log becomes the paper trail a professional builds on. When a spring eventually breaks, the tech knows the door was lubricated every six months, the balance test was stable until three weeks ago, and the bottom seal was replaced in November. That timeline isolates the failure to the spring itself and preempts the “while I’m here” upsell conversation entirely. You do not get sold a roller replacement because the log already shows the rollers were addressed in April.
Our own documentation standard exists for the same reason. We photograph the failed component before quoting, write the scope and price before starting, and deliver a photo record at the close. Your log and our record are the same idea from different sides of the transaction: evidence before claims. A Long Beach homeowner who keeps records and expects the same from whoever touches their door is the homeowner who never pays for a repair they cannot see.
If the door is approaching replacement rather than repair, the same documentation discipline applies. Our Servo Garage Doors Long Beach home page lays out how written pricing works on installation projects, where the scope includes the door, the opener, the haul-away, and the labor as separate line items, so nothing arrives as a surprise. And for the full replacement conversation, Garage Door Installation in Long Beach walks through materials, timing, and the written-price process that applies before any work starts.
Common Mistakes to Avoid
- Using hardware-store winding bars on a torsion spring. A screwdriver shears under winding torque and becomes a projectile. The correct winding bar is hardened steel with a diameter matched to the spring cone. A $15 “garage door winding bar” from an online marketplace is not the same thing, and the failure mode is the reason this tops the list.
- Spraying WD-40 on the spring and calling it lubrication. WD-40 is a solvent and water displacer, not a long-term lubricant. It strips existing grease and leaves the spring dry, which accelerates surface rust and shortens spring life on salt-exposed Long Beach doors.
- Compensating for a failing spring by cranking the opener force dial. This is dangerous, code-violating, and short-sighted. The correct fix is a spring replacement, not a safety-system override. The auto-reverse exists for a reason.
- Disconnecting the opener without securing the door. When the emergency release is pulled while the door is open, a door with a weak spring can slam shut with its full effective weight. Any manual work should start with the door fully closed or locked in place with locking pliers on the track.
- Replacing only one spring when the other is the same age. Springs wear on cycles. If one fails at 10,000 cycles, the other is within a few hundred cycles of the same failure. Replacing the pair saves the second service call and keeps the door balanced. New springs on one side and a tired spring on the other create asymmetric lift that shortens the life of both.
- Ignoring a door that drifts down in the balance test. The drift is the early warning. Fixing it at $200 is cheaper than fixing the same spring problem after the opener force dial has been cranked, the track has been pulled, and the cable has snapped. The log entry matters less than what you do with it.
- Assuming all garage door businesses in Long Beach operate the same way. Some quote over the phone and change the number on arrival. Others write the price, the scope, and the warranty before any work starts. The Haven Standard’s Clause 1 exists because the written price is the difference between a quote and a guess, and Long Beach homeowners have a right to the documentation before they approve the work.
When to Call a Professional
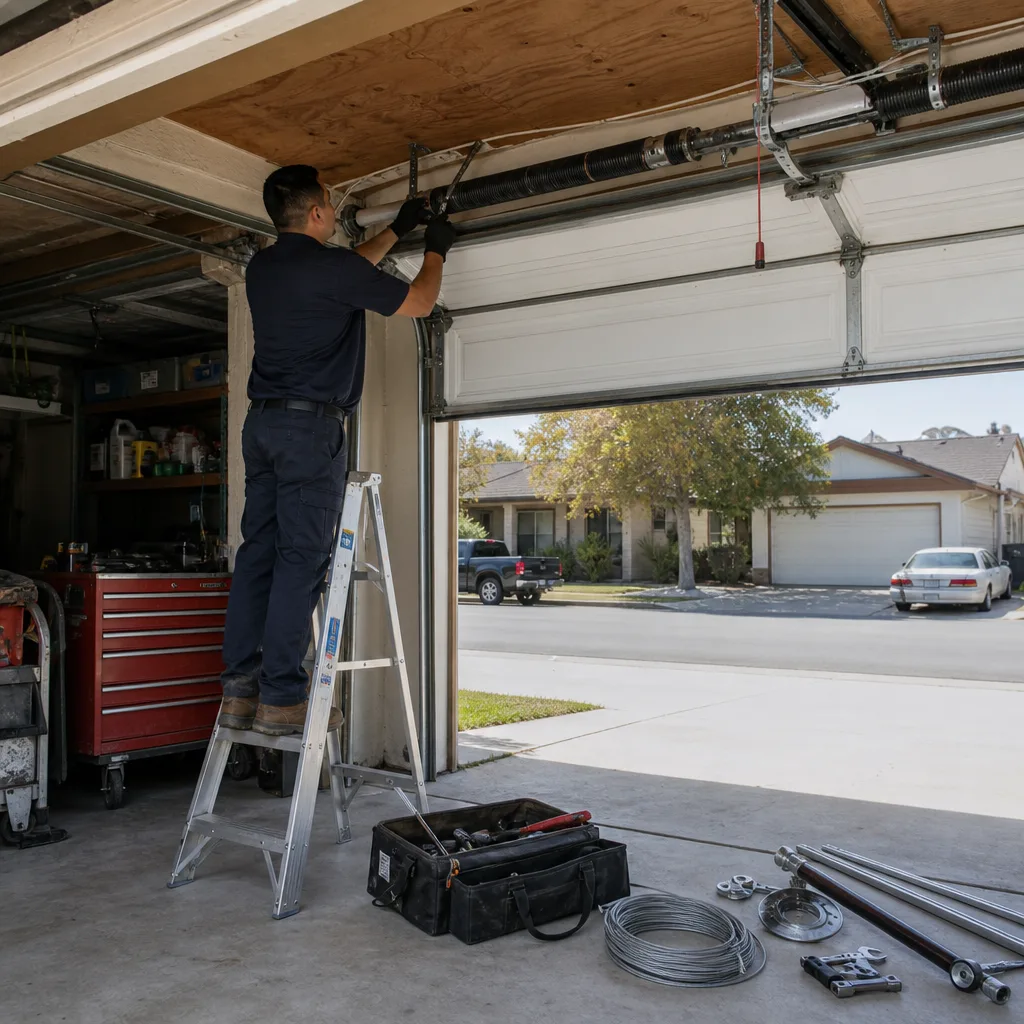
Call a professional when a torsion spring breaks, when a cable frays or snaps, when the door comes off its tracks, when the opener begins behaving erratically despite clean sensors and a good balance test, or when any of the three verification tests fails after your own repair attempt. Call during business hours and the price reflects a scheduled appointment. Call after hours and a live person still answers, because a door stuck half-open at 11 p.m. is a security problem, not a convenience problem.
Servo Garage Doors Long Beach offers free estimates in Long Beach with a flay, written price and scope before any work starts. Our technicians photograph the failed component before quoting a replacement, carry the system’s common parts on the truck, and deliver a documented photo record with every visit. The license and insurance are on the page, not buried in an email footer. Call (424) 688-6426 for the written number before anyone touches the door.
Frequently Asked Questions
Garage door spring replacement in Long Beach typically costs $180 to $450 including parts and labor, with the price depending on the spring’s wire diameter, the door’s size and weight, and whether one spring or a pair is being replaced. Replacing the pair is standard practice because springs wear on the same cycle count. Call (424) 688-6426 for a written, flat-price quote before any work starts, per Clause 1 of The Haven Standard.
No, torsion spring replacement is not a DIY task because the wound spring stores 100 to 300 foot-pounds of torque, and an incorrect winding bar or a slipped set screw releases that energy instantly in the direction of your hands and face. The failure mode is severe injury or death, not a botched repair. Professional replacement costs $180 to $450 in Long Beach and comes with a warranty and a documented photo record of the failed part.
Long Beach homeowners can safely perform lubrication with lithium or silicone spray, photo-eye sensor cleaning and alignment, bottom seal replacement, roller and hinge inspection, and the balance test that checks spring health. These tasks require no spring interaction and no specialized tools. Do them every six months, and the door’s service intervals meaningfully extend in the face of Long Beach’s salt air and marine layer moisture.
An opener that reverses during closing is usually responding to dirty or misaligned photo-eye sensors, a force setting that is too low for a door that has gotten heavier as its spring has lost tension, or a wiring fault in the sensor circuit. Clean the sensor lenses and check alignment first. If the reversal persists, check the balance test. If the door is heavy, replacing the spring is the correct fix, not increasing the force setting. Call (424) 688-6426 for a diagnosis if the sensor cleaning does not resolve the issue.
It means the technician quotes a flay, itemized price and a written scope of work, on paper, before any component is touched. Clause 1 of The Haven Standard requires it. The price quoted is the price charged, and the scope describes exactly what will be replaced or repaired. There is no ‘call for a quote’ and no arrival-day renegotiation. Every job ends with a documented photo record showing what was found and what was done.
What brands do you service in Long Beach?
We service LiftMaster, Chamberlain, Genie, Clopay, Amarr, Wayne Dalton, Craftsman